


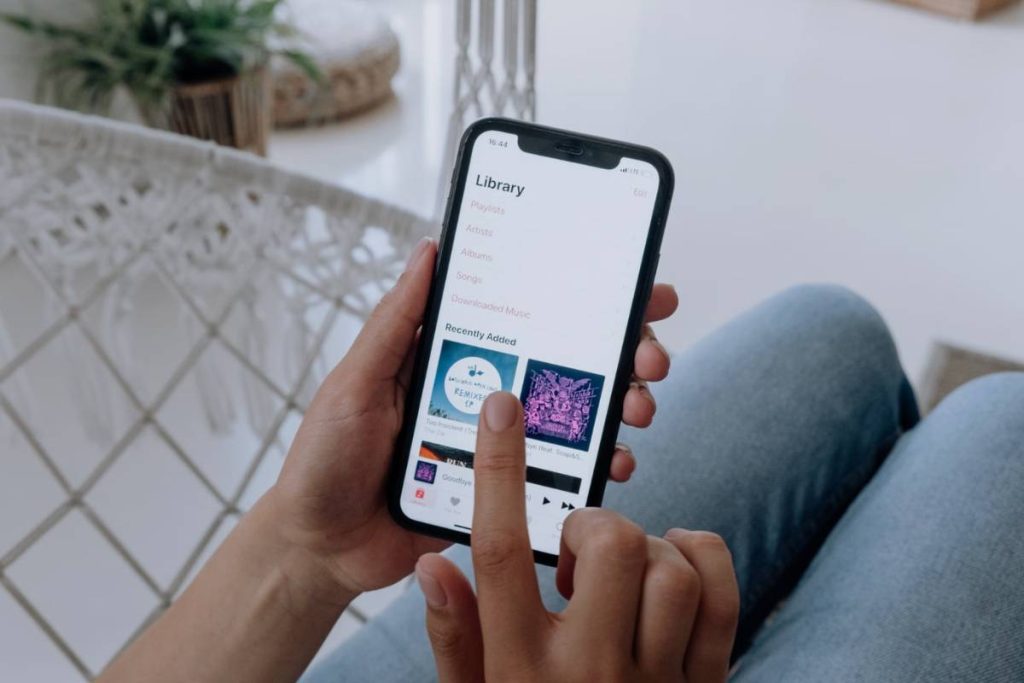
Maybe you want the chorus of a favorite song to play when someone calls, or a voice memo that means something to you. The process for how to make a ringtone on iPhone can feel confusing because there is no simple “Set as Ringtone” button beside every audio file.
This guide takes you through the available options from preparing the audio to saving and assigning the finished ringtone. It also covers the restrictions that may prevent a song from being used and the common reasons a custom tone does not appear.
1. What You Need to Make a Custom iPhone Ringtone
Before you begin, prepare the audio and make sure it can be edited on your iPhone. You will need:
- An iPhone with GarageBand installed. You can download GarageBand from the App Store.
- A song, voice recording, or audio clip saved in the Files app or downloaded to the device.
- An audio file without copy protection.
- A section of audio that can be trimmed to 30 seconds or less.
- Enough free storage to create and export the GarageBand project.
- Permission to use the selected audio when it belongs to someone else.
Downloading a song through an Apple Music subscription does not necessarily make it available for ringtone creation. Protected tracks may appear unavailable when you try to import them into GarageBand.
2. How to Make a Ringtone on iPhone With GarageBand
GarageBand lets you import an audio file, cut out the part you want, and export it directly as a ringtone. The controls can look unfamiliar at first, but the entire process takes place on the iPhone.


Import the Audio Into GarageBand
The GarageBand method is a practical option for how to make a ringtone on iPhone when the original audio needs to be shortened or edited.
- Open GarageBand and tap the Add button to start a project.
- Select Audio Recorder from the instrument choices.
- Tap the Tracks icon to open the editing workspace.
- Tap the Loop Browser icon near the upper-right corner.
- Choose Files if the audio is stored in the Files app, or choose Music for an eligible song saved on the iPhone.
- Find the file, then touch and hold it.
- Drag the audio into the empty track area.
If the song is dimmed or cannot be dragged into the project, it may not be stored locally or may have digital copy protection.
Trim the Audio to the Ringtone Length
Tap the audio region once to select it, then drag its left and right edges to keep only the section you want. Move the clip to the beginning of the timeline so the ringtone does not start with silence.
Keep the finished clip at 30 seconds or less. Play it several times and adjust the starting point until the most recognizable part begins at the right moment.
Export and Name the Ringtone
Once the clip is ready, tap the downward arrow in the upper-left corner and select My Songs. GarageBand will save the project and return you to its project browser.
Touch and hold the saved project, then choose Share > Ringtone. Enter a clear name, tap Export, and wait for the confirmation message. GarageBand may offer to shorten the file automatically if it exceeds the ringtone limit.
Set the New Ringtone on Your iPhone
After the export finishes, tap Use sound as. You can make the audio your standard ringtone, use it as a text tone, or assign it to a specific contact.
If you select Done, you can choose the ringtone later through Settings > Sounds & Haptics > Ringtone. Tap the custom tone to apply it to incoming calls.
3. How to Turn a Song Into an iPhone Ringtone
A favorite chorus or instrumental section can work well as a ringtone, but the song must first be available in a format GarageBand can edit. Check the file before spending time creating the project.
Check Whether the Song Can Be Imported
The first step in how to make a song a ringtone on iPhone is to confirm that the track is downloaded to the device and does not have copy protection. Audio files you own and store in Files are generally easier to import.
Songs accessed through an Apple Music subscription may be protected and unavailable in GarageBand, even when downloaded for offline listening. If a track appears dimmed, choose an unprotected copy you own rather than attempting to bypass its restrictions.
Select and Trim the Part of the Song You Want
For how to make a song your ringtone on iPhone, choose a short section that starts clearly, such as a chorus, hook, or instrumental phrase. Avoid long introductions because an incoming call may end before the main part plays.
Import the track into GarageBand, move the preferred section to the beginning, and trim the clip to no more than 30 seconds. Preview the result before exporting it as a ringtone using the steps above.
>>> Read more: How to Record Incoming Calls on iPhone Without an App
4. How to Turn a Voice Memo Into an iPhone Ringtone
A recorded phrase, family message, or personal sound can become a ringtone once the Voice Memos recording is saved as an editable audio file. Here is how to make voice memo a ringtone on iPhone with GarageBand:
- Open Voice Memos and select the recording.
- Tap the three-dot menu, then choose Share.
- Select Save to Files and choose a folder.
- Open GarageBand and create an Audio Recorder project.
- Switch to Tracks view and open the Loop Browser.
- Select Files, locate the voice memo, and drag it into the track.
- Remove unwanted silence and trim the recording to 30 seconds or less.
- Return to My Songs, press and hold the project, and select Share > Ringtone.
- Name the ringtone, tap Export, and choose how you want to use it.
Listen to the recording before exporting it. Low volume, background noise, or a long pause at the beginning may make the finished ringtone difficult to hear.
5. How to Create an iPhone Ringtone With a Computer
A computer gives you more control over precise cuts, volume, and file conversion. This option for how to make a ringtone on iPhone requires an audio editor and a final file in Apple’s .m4r ringtone format.
Creating and Transferring a Ringtone From a Mac
Use the Music app or an audio editor to select a clip that lasts no more than 30 seconds. Export or convert it to AAC, then change the file extension from .m4a to .m4r if necessary.
Connect the iPhone to the Mac and approve the trust prompt on both devices. Open the iPhone in Finder, then drag the .m4r file onto the device or use the available file-syncing controls. After syncing, check Settings > Sounds & Haptics > Ringtone for the new tone.
If your current macOS version does not accept the file through Finder, save the audio to iCloud Drive and complete the export through GarageBand on the iPhone.
Creating and Transferring a Ringtone From Windows
Trim the audio to 30 seconds or less with a trusted audio editor, then export it in AAC format. Rename the extension to .m4r, making sure Windows is displaying file extensions so the name does not accidentally become .m4r.m4a.
Connect the iPhone and use iTunes or the Apple device-management software supported by your Windows setup. Add the ringtone through the available tones or device-syncing area. If the software does not provide a ringtone transfer option, move the audio to iCloud Drive and use GarageBand on the iPhone to export it.
6. How to Assign a Custom Ringtone on iPhone
Once the ringtone appears in the sound list, you can use it for every caller or reserve it for a particular person. Some custom sounds can also be selected for texts and other alerts.
Set the Ringtone for All Incoming Calls
Open Settings > Sounds & Haptics > Ringtone. Tap the custom ringtone to place a checkmark beside it and make it the default sound for incoming calls.
The change takes effect immediately, so there is no separate Save button. Use the volume slider under Ringtone and Alerts if the sound is too quiet.
Assign the Ringtone to One Contact
Open Contacts or select a person through the Phone app. Tap Edit > Ringtone, choose the custom sound, and tap Done.
This selection overrides the default ringtone for that person. It can help you recognize an important caller without looking at the screen.
Use the Sound for Text Alerts When Available
Open the contact, tap Edit > Text Tone, and look for the custom sound in the available list. Select it and tap Done to save the change.
You can also check Settings > Sounds & Haptics > Text Tone to apply a sound more broadly. Availability can depend on how the audio was exported and the alert category you are changing.

You can use a custom ringtone for all incoming calls or assign different sounds to specific contacts and supported text alerts. (Image by Pexels)
7. Why Your Custom Ringtone Is Not Appearing
Even after following the steps for how to make a ringtone on iPhone, the sound may not appear under the ringtone settings. Common causes include:
- The audio was saved as .m4a, .mp3, or another file type instead of being exported as a ringtone.
- The clip exceeded the permitted ringtone length.
- GarageBand saved the project but did not complete the ringtone export.
- The file name contains an unsupported character or an incorrect double extension.
- The song is protected by digital rights management.
- The ringtone was transferred to Files rather than added to the phone’s ringtone library.
- The computer did not finish syncing with the iPhone.
- The ringtone was added under a different Apple device or account.
- The iPhone needs to be restarted before the new sound appears.
Return to GarageBand and export the project again if the file remains missing. Confirm that Ringtone was selected in the Share menu rather than Song or Project.
>>> Read more: How to Call with No Caller ID
Conclusion
A custom ringtone can come from a song, voice memo, or audio file you already own. Once you know how to make a ringtone on iPhone, GarageBand offers the most direct way to trim, export, and assign the sound without buying another app.
A Mac or Windows computer is also useful when you want more control over editing, provided the finished clip is converted and transferred in the correct format.