


Knowing how to repair drywall anchor holes can help restore your walls after removing shelves, picture frames, curtain rods, or other mounted items. While anchor holes may look difficult to fix, most can be repaired with basic tools and a small amount of patching compound.
The best repair method depends largely on the size of the hole left behind. Small anchor holes often require only spackle, while larger openings may need a patch for lasting results.
This guide explains how to repair drywall anchor holes of different sizes, which materials to use, and the step-by-step process for achieving a smooth finish that blends into the surrounding wall.
1. Tools and Materials Needed to Repair Drywall Anchor Holes
Before starting any repair, gather the necessary tools and materials. Most drywall anchor hole repairs can be completed with inexpensive supplies that are available at hardware stores or home improvement centers.
Depending on the size of the damage, you may need:
- Putty knife
- Spackle or joint compound
- Sandpaper (120- to 220-grit)
- Utility knife
- Drywall patch kit (for larger holes)
- Mesh tape
- Primer
- Matching wall paint
- Clean cloth or brush for dust removal
For small anchor holes, basic spackle and a putty knife are often enough. Larger repairs may require patching materials and additional finishing tools.
Having everything ready before you begin can make the repair process faster and help produce a smoother final result.
2. How to Repair Drywall Anchor Holes by Size
When learning how to repair anchor holes in drywall, one of the most important factors is the size of the hole. The repair method becomes more involved as the opening gets larger, and choosing the appropriate materials can help prevent cracking, shrinking, or visible patches later.
Small Holes (Under 1/2 Inch)
Small holes are the most common type of drywall anchor damage. They are often left behind by lightweight picture hangers, small wall anchors, screws, and decorative fixtures.
Because these openings remove very little drywall material, they typically require only a filler product such as spackle or lightweight joint compound.
In most cases:
- No drywall patch is needed
- Repairs can often be completed in a single application
- Minimal sanding is required
- The finished repair is usually easy to conceal with paint
Small holes are generally the quickest and easiest type of drywall repair.
Medium Holes (1/2 to 2 Inches)
Medium-sized holes usually occur when larger plastic anchors are removed or when an anchor tears away some of the surrounding drywall.
These holes require more support than small openings because filler alone may shrink or crack over time.
For medium repairs, homeowners often use:
- Joint compound instead of lightweight spackle
- Mesh tape for reinforcement
- Multiple coats of filler
- Additional sanding and finishing work
The goal is to create enough structural support to prevent the repair from becoming visible after painting.


Large Holes (Over 2 Inches)
Large anchor holes are less common but can occur when heavy-duty mounting hardware is removed or when drywall breaks during anchor removal.
At this size, simple filler products are rarely sufficient. The damaged area may need reinforcement or a dedicated drywall patch before finishing materials are applied.
Large-hole repairs often involve:
- Self-adhesive drywall patch kits
- Mesh or metal-backed patches
- Additional joint compound layers
- Longer drying and finishing times
Although larger repairs require more work, they can still be blended into the surrounding wall with the proper materials and preparation.
3. Step-by-Step: The Standard Drywall Anchor Hole Repair
Once you understand the size of the damage, the actual repair process is relatively straightforward. The following method works well for most common anchor holes and is especially useful for homeowners wondering how to repair small anchor holes in drywall.
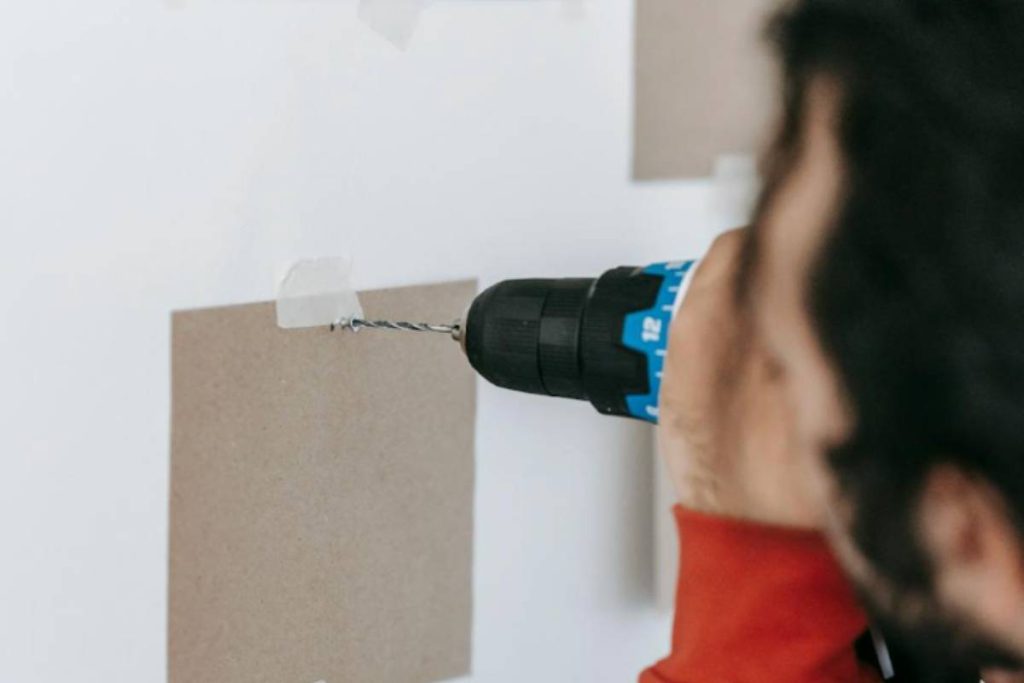
Step 1: Remove the Anchor Properly
Before repairing the wall, remove the anchor completely.
For plastic anchors that extend beyond the wall surface, use pliers to pull them out carefully. If an anchor resists removal, gently pushing it into the wall cavity may cause less damage than forcing it out.
Avoid tearing additional drywall during this step, as larger openings will require more extensive repairs.
Step 2: Clean the Edges of the Hole
Inspect the area for loose drywall paper, broken edges, or dust.
Use a utility knife to trim any damaged material around the hole. Then wipe away dust and debris with a clean cloth.
Clean edges help repair compounds bond properly and create a smoother finished surface.
Step 3: Apply Spackle or Joint Compound
Using a putty knife, press spackle or joint compound firmly into the hole.
For shallow holes, one application may be enough. Deeper holes often benefit from several thin coats rather than a single thick layer.
Slightly overfill the hole so the surface remains level after the compound dries and contracts.
Allow the product to dry according to the manufacturer’s instructions before moving to the next step.
Step 4: Sand Smooth and Touch Up Paint
Once the repair compound has fully dried, sand the area until it is flush with the surrounding wall. Use fine-grit sandpaper and work gradually to avoid removing too much material.
After sanding:
- Remove dust from the repair area.
- Apply primer if needed.
- Touch up with matching paint.
A properly sanded and painted repair should blend naturally into the surrounding wall and leave little visible evidence of the original anchor hole.
4. When to Use a Patch Kit vs Just Spackle
One of the most common questions about drywall repairs is whether a simple filler is enough or if a patch kit is necessary. The answer usually depends on the size and condition of the hole.
In general, spackle works best for small cosmetic repairs, while patch kits provide additional support for larger damaged areas.
| Repair Situation | Best Solution |
| Small nail holes | Spackle |
| Small drywall anchor holes | Spackle |
| Holes under 1/2 inch | Spackle |
| Holes between 1/2 and 2 inches | Spackle or patch kit depending on depth |
| Holes larger than 2 inches | Patch kit |
| Cracked or damaged drywall around the hole | Patch kit |
| Torn drywall paper with missing material | Patch kit |
Spackle is faster and easier to apply, making it ideal for minor repairs. However, larger holes often require reinforcement to prevent future cracking, sagging, or visible depressions.
If you’re unsure which option to choose, a patch kit is usually the safer choice for holes larger than 1 inch.
>>> Also read: How to Remove a Stripped Screw: 8 Methods That Actually Work (2026)
5. Mistakes to Avoid When Patching Anchor Holes
Even small drywall repairs can become noticeable if common mistakes are made during the process. Avoiding these issues can help create a smoother and longer-lasting repair.
Skipping Surface Preparation
It’s tempting to jump straight into applying filler, but skipping prep work can cause problems later. Loose drywall, dust, and debris prevent proper adhesion, which may lead to cracking or peeling over time.
Taking a minute to clean and prep the area makes a big difference in durability.
Leaving the Anchor Inside the Wall Surface
Some homeowners attempt to patch over partially exposed anchors. This often creates an uneven repair and can lead to cracking later.
The anchor should be properly removed or pushed completely below the surface before patching.
Applying Too Much Compound at Once
Using thick layers of spackle or joint compound often backfires. As the material dries, it can shrink and leave dents or cracks.
Applying multiple thin coats instead will give you a smoother finish and reduce the amount of sanding needed.
Forgetting to Sand Between Coats
Sanding is what helps blend the repair into the surrounding wall. Skipping this step can leave behind ridges, bumps, or visible patch lines that stand out after painting. Light sanding between coats ensures a more seamless result.
Painting Without Priming
Fresh drywall compound absorbs paint differently than the rest of the wall. Without primer, the patched area may look dull or uneven.
Applying a primer first helps create a consistent surface and improves the final paint finish.
Using Spackle for Large Holes
While spackle works well for small repairs, it’s not designed for larger holes. Trying to fill a big opening without proper support can lead to cracking or shrinking.
For larger damage, using a patch or backing material will provide a stronger and more reliable repair.
>>> Read more: How to Use a Meat Thermometer: A Complete Guide for Perfectly Cooked Meat Every Time (2026)
Conclusion
Learning how to repair drywall anchor holes is a useful skill that can quickly improve the appearance of your walls after removing shelves, pictures, curtain rods, or other mounted items.
The key is choosing the right repair method based on the size of the hole. Small anchor holes can often be fixed with basic spackle, while larger openings may require reinforcement or a drywall patch kit. With proper preparation, careful application, and a little sanding, most repairs can blend seamlessly into the surrounding wall.
By following the techniques in this guide, you can confidently repair drywall anchor holes and restore a smooth, paint-ready surface without hiring a professional.