


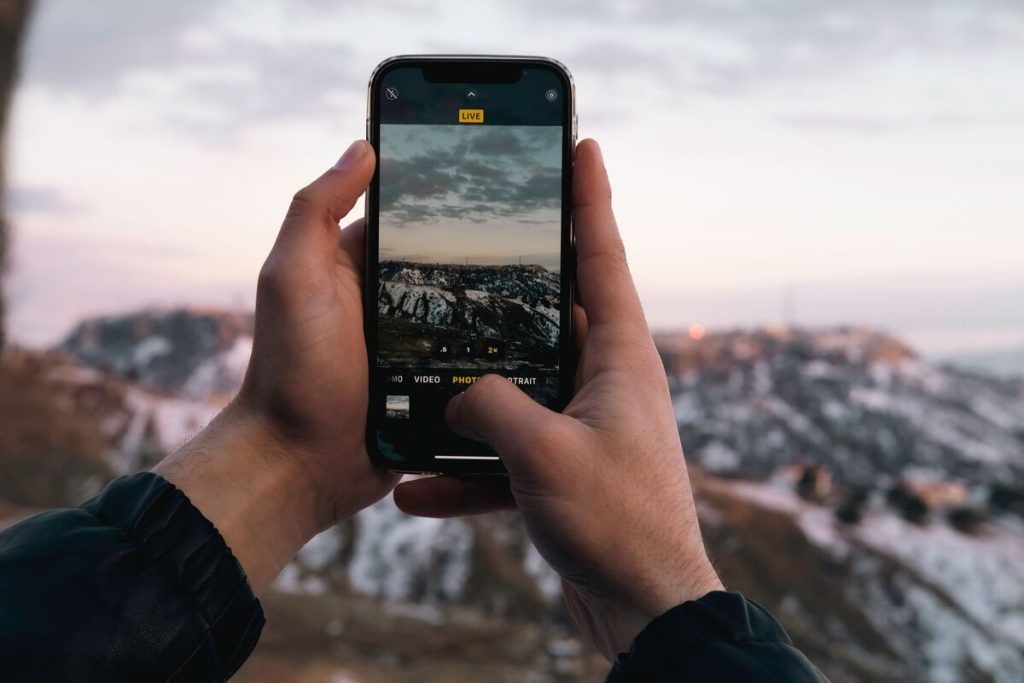
Taking a hands-free photo is useful when you need time to step into a group shot, steady the phone, or avoid touching the device at the moment the picture is taken. The Camera app includes a built-in timer, but its controls and behavior can vary depending on the shooting mode and iOS version.
Before getting into how to set timer on iPhone camera, it helps to know where the Timer control appears and what the countdown actually does. The details can matter if you want to capture multiple shots, use Portrait mode, or are following older instructions where the camera controls look different.
1. How to Set Timer on iPhone Camera
Apple’s current Camera interface provides timer options of 3, 5, or 10 seconds. The Timer control can be accessed through Camera Controls or by swiping up from the camera modes at the bottom of the screen.


Step 1: Open Camera and Go to Photo Mode
Open the Camera app and switch to Photo mode.
Set the iPhone on a stable surface, tripod, or another secure position before starting the countdown. If you are taking a group photo, make sure everyone can fit comfortably within the frame.
You can switch to the front-facing camera before setting the timer if you are taking a hands-free selfie. Apple supports the front camera for standard photo capture, so the same general setup works from either side of the phone.
Starting in Photo mode makes it easier to confirm that the Timer option is available before you compose the shot.
Step 2: Tap the Timer Icon and Choose Duration
The Timer control may already be visible above the camera frame. If it is not, open the additional Camera Controls by tapping the Camera Controls button or swiping up from the camera modes.
Then:
- Tap Timer.
- Select 3s, 5s, or 10s.
- Return to the camera view.
A 3-second timer is convenient when the phone is already positioned and you only need a brief delay. A 10-second timer gives you more time to walk into a group or adjust your position.
Once you understand how to set timer on iPhone camera, check the camera preview after choosing the delay and make sure everyone will fit within the frame.
If you are working through how to set the timer on my iPhone camera, remember that choosing the timer does not take the picture immediately. You still need to press the shutter to start the countdown.
Step 3: Position Yourself and Press the Shutter Button
Once the frame looks right, tap the Shutter button.
The countdown begins, giving you time to move into position before the photo is captured. Apple specifically describes the timer as a way to give yourself time to get into the shot.
For the cleanest result:
- Keep the iPhone on a stable surface.
- Use 10 seconds when you need to walk into the frame.
- Avoid touching the phone during the countdown.
- Leave some extra space around the group in case someone moves.
- Check the resulting image before changing the setup.
Once you understand how to set timer on camera iPhone, the same basic workflow can be reused for group photos, self-portraits, and shots where pressing the shutter manually could introduce camera movement.
>>> Read more: How to Screen Record on iPhone in 5 Easy Steps With or Without Sound
2. 3 Things to Know About iPhone Camera Timer
The timer is simple, but its interaction with Burst, Live Photos, and different camera modes is less obvious.
Knowing how to set timer on iPhone camera is only the first step, because the way the timer captures photos can depend on the shooting setup you use.

Does the Timer Take Only One Photo?
Not always.
In standard Photo mode, the iPhone timer can capture a burst of multiple images rather than leaving you with only one frame. Current third-party documentation continues to describe the standard timer as producing a 10-photo burst, which lets you choose the best expression or frame afterward.
That can be helpful for group shots. Someone may blink, move, or look away in one frame but appear correctly in another.
Can the Timer Work With Burst Mode?
Timer and Burst are closely related, but they are not simply two buttons that you combine.
Apple documents Burst mode as a separate capture method:
- Touch and drag the Shutter button to the left to capture a rapid sequence,
- Or enable Use Volume Up for Burst and hold the Volume Up button.
The timer, meanwhile, creates a delay before the shutter fires.
In standard Photo mode, the timer may itself produce a burst of 10 images, meaning you usually do not need to activate the ordinary Burst gesture separately. This is useful when your goal is hands-free multiple shots rather than manually holding down the shutter.
Works the Timer With All Camera Modes?
The timer is available in more than one still-photo mode, but not every Camera control appears in every mode.
Apple explicitly documents Timer in Photo mode and also states that Portrait mode supports a timer.
Other modes may have different controls or no Timer option at all. Video-based modes do not use a traditional still-photo countdown in the same way.
That means how to set timer on iPhone camera should be treated as a mode-dependent workflow. If you cannot find Timer after switching modes, return to Photo first and check the Camera Controls there.
3. What to Do When the Timer Doesn’t Take Multiple Shots or Save Photos
If iPhone camera timer setting works but the result does not match what you expected, start by checking the shooting mode and whether Live Photo is active.
If you expected multiple frames but received one, confirm that you are in standard Photo mode and review the image in Photos for a burst grouping. If you specifically need several rapid shots, use the dedicated Burst function instead of relying on the timer behavior.
If no photo appears at all:
- Open Photos > Recents and check whether the image was saved.
- Make sure the iPhone has enough available storage.
- Close and reopen Camera.
- Restart the iPhone if Camera is behaving unexpectedly.
- Test a regular photo without the timer.
You should also check whether the Timer control is actually turned on for the current session. Apple provides a way to turn it off through Camera Controls > Timer, which means it can remain selected until you disable it.
For how to set timer on camera iPhone reliably, test the feature in ordinary Photo mode first. Once that works, try Portrait or another supported still-photo mode if you need a different look.
If normal photos also fail to save, the problem is unlikely to be caused by the timer itself.
4. Final Thoughts
A few seconds of delay can make group shots, selfies, and tripod photos much easier to capture without touching the phone at the last moment.
Keep the device stable, choose a countdown that gives you enough time to get into position, and check the final image afterward. Knowing how the timer behaves with Photo mode, Burst, Live Photos, and Portrait can also save you from unexpected results.
Apart from the guide of how to set timer on iPhone camera, browse the latest articles on the AirTalk Wireless blog for more ways to get the most from your devices and service.
>>> Read more: How to Send a Voice Message on iPhone? 3 Easy Steps and a Helpful Mid-Call Tip
5. FAQs
Does the iPhone camera timer take more than one photo automatically?
In standard Photo mode, it can capture a burst of multiple images, commonly 10 frames, rather than producing only one photo. This gives you several versions to review after the countdown.
This is also important to remember when following how to set timer on iPhone camera, because the timer controls the countdown rather than guaranteeing a single photo.
Can I use the timer with Portrait mode or other camera modes?
Yes, Portrait mode supports the timer on supported iPhone models. Apple also notes that not every Camera control is available in every mode, so the Timer option may not appear everywhere.
Is there a way to cancel the timer once it’s counting down?
Yes. You can cancel the countdown by opening the Camera controls, selecting Timer, and turning it off. The exact on-screen control can vary by iOS version.
Does the timer work the same way with the front camera?
The timer can be used for hands-free selfies with the front-facing camera. Switch to the front camera, set the desired countdown, and press the shutter before moving into position. Apple documents the front camera as a standard option for taking selfies.