


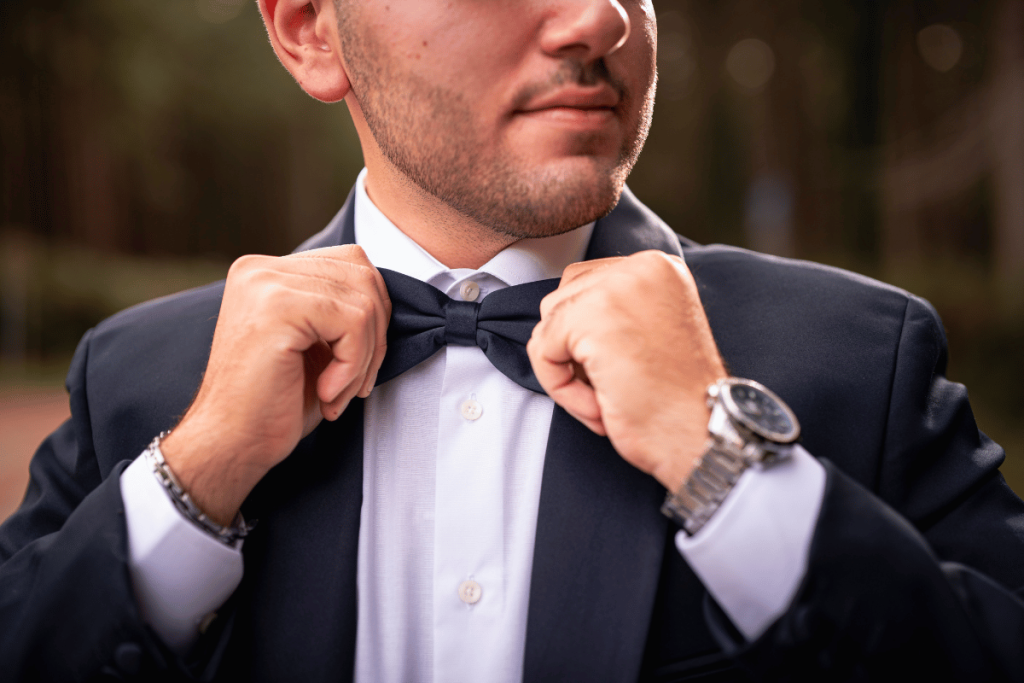
Learning how to tie a bow tie may feel confusing when you first hold the two loose ends in front of a mirror.
However, the knot becomes much easier once you understand how the folds work together. With a properly adjusted neckband, a few careful movements, and a little practice, you can create a balanced bow suitable for weddings, formal dinners, school events, or everyday outfits. Follow this simple guide to master the technique without relying on a pre-tied accessory.
1. How to Tie a Bow Tie in 5 Easy Steps
A self-tie bow tie follows a process similar to tying shoelaces, although the final loop is smaller and requires more control. Before starting, button your shirt completely and raise the collar so the neckband sits flat.
Step 1: Adjust the Bow Tie to Fit Your Neck
Place the bow tie around your neck with the right end hanging about one or two inches lower than the left. Many adjustable models include measurements that correspond to common collar sizes.
The band should sit comfortably under your collar without pressing tightly against your neck. Leave enough room to move and form the knot.
Step 2: Cross One End Over the Other
Cross the longer end over the shorter end near the narrowest section of the fabric. Bring the longer end underneath the crossing point and pull it upward through the opening around your neck.
Gently tighten this first knot. It should remain secure but loose enough for you to complete the remaining folds comfortably.
Step 3: Form the Front Loop
Bring the shorter side into a flat horizontal fold, using its widest section to form the front half of the bow before continuing to the next step. Position this folded section in the center of your collar and hold it between your thumb and index finger.
The fold should resemble one finished side of the bow. Keeping it centered now will make the final adjustment much easier.
Step 4: Fold the Other Side and Pull It Through
Drop the longer end vertically over the middle of the front loop. Pinch the folded bow together to create a small opening behind it.
Fold the hanging end back on itself and carefully push its folded section through that opening. Guide the folded loop through the opening while keeping the loose tail outside, as feeding the entire end through will prevent the knot from forming correctly. This movement creates the second loop and completes the basic knot.
Step 5: Tighten and Adjust Until Both Loops Match
Hold one loop and the opposite loose end, then pull gently. Repeat on the other side until the knot becomes secure. This final adjustment is one of the most important parts of learning how to tie a bow tie, as it helps create a balanced knot without over-tightening the fabric.
Adjust the fabric until both loops appear similar in size. A self-tied bow does not need to look perfectly symmetrical. Slight differences often give it a more natural and authentic appearance.
>>> Read More: How to Patch Jeans? Proven Methods for Repairing Holes at Home
2. Common Mistakes When Learning How to Tie a Bow Tie
You may follow every step in the right order, yet minor adjustments or overlooked details can still influence how neat the finished bow looks. Recognizing these problems will help you improve more quickly.
Making the Bow Too Tight
Pulling too firmly can create an uncomfortable neckband and a compressed knot.
Tighten the bow gradually, checking that you can still move your neck comfortably. If the center looks pinched or distorted, loosen the knot slightly and reshape the loops.
Uneven Loops
One oversized loop usually means too much fabric was pulled through the opening.
Instead of restarting immediately, hold the smaller loop and gently pull its corresponding loose end. Continue making small adjustments until the two sides look balanced.
Choosing the Wrong Bow Tie Size
A bow that is too wide may extend far beyond the edges of your face, while a very small bow can appear out of proportion.
Select a size that complements your collar and facial width. Adjustable self-tie designs are usually the most flexible choice for beginners.
Giving Up Too Quickly
The knot may look messy during your first few attempts. That is normal. Practice each fold slowly and use a mirror only when checking the final position.
Once your hands remember the sequence, the process becomes much faster.


3. How to Tie Other Types of Bows?
The same loop-and-center principle can also be used for decorative bows. However, ribbon width, fabric texture, and the item being decorated may require slightly different techniques.
How to Tie a Bow With Ribbon?
To learn how to tie a bow with ribbon, begin by creating two equal loops.
Cross one loop over the other, push it through the center opening, and pull both sides evenly. Ribbon with built-in wire offers greater flexibility for decorative designs, allowing you to refine and reshape each loop even after the bow has been tied.
How to Tie a Ribbon Bow Used for Gifts?
When practicing how to tie a ribbon bow around a gift, wrap the ribbon around the package first and secure it with a basic knot. Form two loops, cross them, and pull one through the center. Trim the loose ends diagonally or into a V shape for a cleaner presentation.
This method is also the simplest answer to how to tie a bow for gift boxes, flower arrangements, baskets, and seasonal decorations.
How to Tie a Bow on a Dress?
Understanding how to tie a bow on a dress starts with keeping both fabric ends at equal lengths.
Cross them securely, form a loop with one side, and wrap the other side around it. Pull the second loop through, then spread both loops and flatten the center knot.
Avoid pulling too tightly, especially when working with delicate satin, chiffon, or thin decorative fabric.
4. Tips to Keep Your Bow Tie Looking Sharp
Once you have mastered how to tie a bow tie, proper preparation and storage will help the accessory maintain its shape and keep it looking crisp every time you wear it.
Practice Before Important Events
Do not wait until a wedding, interview, dinner, or formal celebration to practice. Tie the bow several times beforehand so you can identify the correct starting length and make adjustments confidently.
Store Your Bow Tie Properly
Untie the bow after wearing it instead of leaving the knot in place. Smooth out wrinkles and store it flat or loosely rolled in a clean, dry drawer. The Smithsonian also recommends keeping stored textiles in a clean, cool, dry, and dark environment to help protect their condition.
Choose Fabrics That Hold Their Shape
Cotton, woven silk, linen blends, and textured materials are often easier for beginners because they provide enough structure to hold a loop. Very smooth or lightweight fabrics may slide while you are forming the knot.
Learn One Knot Before Trying Fancy Styles
Begin with the standard butterfly shape before experimenting with diamond-point, batwing, or oversized styles. Mastering one reliable technique gives you the control needed to handle different proportions and fabrics later.
Looking for more practical ways to make everyday tasks simpler? Explore the Lifestyle and Everyday Guides from AirTalk Wireless for approachable tips covering personal style, technology, communication, household tasks, and daily problem-solving.
These resources are designed to help you find straightforward answers without complicated instructions. You can also visit the AirTalk Wireless blog to discover more helpful guides and service updates.


Conclusion
Knowing how to tie a bow tie is a useful skill that becomes surprisingly simple with repetition. Adjust the neckband first, build the front loop carefully, pull the second folded end through, and make small corrections until the knot feels comfortable and balanced.
Do not worry about achieving factory-perfect symmetry. A slightly uneven finish is part of the charm of a genuine self-tied bow. Practice a few times before wearing it, and soon you will be able to create a sharp knot with confidence.