


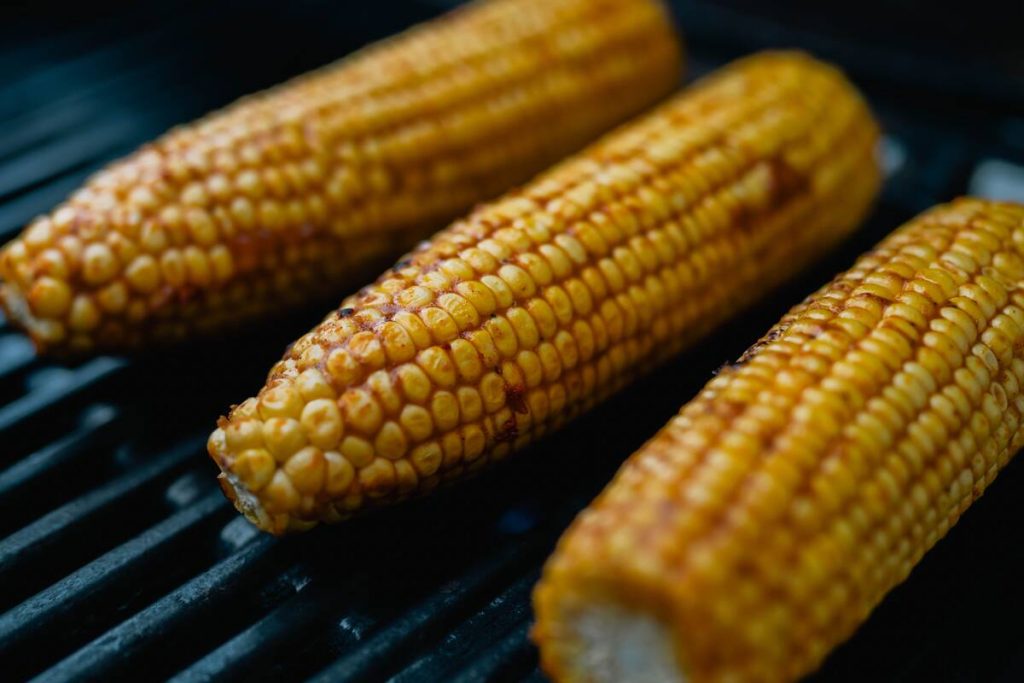
Grilled corn can be surprisingly easy to get wrong. The kernels can turn dry before they develop enough char, or the outside can burn while the inside is still firm.
However, learning how to grill corn on the cob does not require complicated techniques. With the right grilling method, controlled heat, and proper timing, you can get tender, flavorful corn every time.
1. The 3 Best Ways to Grill Corn: Which One Should You Choose?
There is no single “right” way to grill corn. The best method depends on whether you want juicy kernels, smoky char, or rich buttery flavor. All three methods work well, but they create noticeably different results.
Grill Corn in Husk (Juiciest Method)
If your priority is tender, juicy corn, grilling it in the husk is a great place to start. The husk acts as a natural protective layer, helping the kernels retain moisture while the corn cooks.
For how to grill corn on the cob in the husk, start by gently pulling back the outer husks and removing the silk.
Then pull the husks back over the corn. Some cooks soak the prepared ears in water before grilling to add extra moisture and reduce the risk of the husk burning too quickly.
Place the corn over medium heat and turn it every few minutes. The husk will gradually become charred and browned, while the kernels inside steam and soften.
This method produces less direct charring on the kernels, so it is ideal when you prefer sweet, juicy corn over a heavily smoky flavor.


Grill Corn Without Husk (Charred & Smoky Flavor)
For deeper grill marks and a more pronounced smoky flavor, remove the husk and silk completely before cooking. This puts the kernels directly against the heat, so they develop those small browned spots that make grilled corn especially flavorful.
Brush the corn lightly with oil before grilling. Place it over medium heat and rotate it regularly so that the kernels cook evenly without burning.
This method is particularly good if you plan to finish the corn with bold toppings such as chili, Parmesan, garlic butter, or Mexican-style elote seasoning. The slightly charred surface gives those toppings more flavor to work with.
Foil-Wrapped Corn (Butter-Infused Method)
Foil-wrapped corn is the easiest option when you want buttery, seasoned kernels with minimal mess. Remove the husk and silk, then coat each ear with butter, oil, salt, pepper, or your preferred seasoning.
Wrap the corn tightly in aluminum foil and place it on a medium-heat grill. The foil traps steam while the butter melts into the kernels, creating tender and flavorful corn.
This method does not produce as much direct char as grilling without the husk, but it is very forgiving. It is a good choice for family cookouts when you want consistent results without constantly watching the corn.
2. How to Grill Corn on the Cob: Step-by-Step Basics
Regardless of the method you choose, the basic process for how to cook corn on the cob on the grill is straightforward. The key is controlling the heat and turning the corn often enough to cook it evenly.
Step 1: Preheat the grill
Aim for medium heat rather than very high heat. This gives the kernels enough time to become tender without scorching the outside.
Step 2: Prepare the corn
Keep the husk on, remove it completely, or wrap the corn in foil depending on your chosen method. If grilling in the husk, remove as much silk as possible before pulling the husk back over the ear.
Step 3: Place the corn on the grill
Set the corn over medium heat and leave enough space between each ear for easy turning.
Step 4: Rotate the corn regularly
Turn each ear every few minutes. Regular rotation helps prevent one side from becoming overly charred while the opposite side remains undercooked.
Step 5: Add butter or oil at the right time
For husk-free corn, a light coating of oil before grilling helps prevent excessive drying. Butter can be added during or after cooking. For foil-wrapped corn, butter can go inside the foil from the beginning.
Step 6: Check for doneness
The kernels should look plump and feel tender when tested with a fork. Light char marks are a good sign, but completely blackened kernels usually indicate that the heat is too high.
3. How Long to Grill Corn on the Cob?
The answer to how long to grill corn on the cob depends mainly on whether the kernels are exposed to direct heat.
| Method | Approximate grilling time |
|---|---|
| Husk on | 15-20 minutes |
| Husk off | 10-12 minutes |
| Foil-wrapped | About 15 minutes |
These times are useful starting points rather than strict rules. Grill temperature, corn size, and how frequently you turn the ears can all affect cooking time.
If you are wondering how long to cook corn on the cob on the grill, look for visual signs as well as the clock. The kernels should be tender and plump, with light char marks for husk-free corn. If the kernels are still firm, give the corn a few additional minutes and continue turning it.


>>> Also read: How Long to Grill Chicken Breast: Tips for Juicy Chicken
4. Avoid These 5 Mistakes That Ruin Grilled Corn
Even a simple recipe can go wrong when the heat or timing is off. These common mistakes are worth avoiding:
- Overcooking the corn: Too much time on the grill can drive moisture out of the kernels and leave them dry and chewy.
- Not rotating evenly: Leaving the same side over the heat for too long can create burnt patches while other areas remain undercooked.
- Using heat that is too high: Extremely high heat can scorch the outside before the kernels have enough time to become tender.
- Skipping soaking for the husk method: A brief soak can help add moisture and reduce the chance of the husk becoming excessively dry during grilling.
- Using no fat at all: A small amount of butter or oil can add richness and help prevent exposed kernels from becoming dry.
The goal is not to keep the corn away from the heat. It is to give it enough time over controlled heat to become tender while developing flavor.
5. Flavor Upgrade Ideas: How to Make Your Corn Taste Like a Restaurant
Perfectly grilled corn is delicious with nothing more than butter and salt, but toppings can turn it into something much more memorable. Once the corn comes off the grill, you have plenty of options.
Classic Butter and Salt
You cannot go wrong with melted butter and a generous pinch of salt. Brush the butter over the hot corn immediately after grilling so it coats the kernels evenly. A little freshly ground black pepper adds another layer of flavor without overpowering the sweetness of the corn.
Mexican-Style Elote
For a richer, more exciting option, turn grilled corn into elote. Spread a thin layer of mayonnaise over the hot ear, then add crumbled cheese, chili powder, and a squeeze of lime.
The creamy topping contrasts with the smoky corn, while the chili and lime add heat and acidity. If you like stronger flavors, finish it with chopped cilantro or a little extra chili.
Garlic Herb Butter
Mix softened butter with minced garlic and fresh herbs such as parsley, cilantro, or chives. Spread it over the hot corn while the butter is still melting.
This works particularly well with husk-free grilled corn because the garlic butter settles into the small charred areas between the kernels.

Honey Butter
Honey butter is an easy choice when you want to emphasize the natural sweetness of corn. Combine softened butter with a small amount of honey and a pinch of salt.
The result is sweet, creamy, and slightly savory. It works especially well as a side dish for grilled chicken, pork, or spicy barbecue.
Parmesan and Black Pepper
For a savory finish, brush the corn with butter and sprinkle it with finely grated Parmesan and freshly ground black pepper. The cheese sticks to the warm kernels while the pepper adds a mild bite.
You can also add a little garlic powder or smoked paprika if you want a stronger barbecue-style flavor.
Final Thoughts
Learning how to grill corn on the cob is mostly about choosing the right method, controlling the heat, and knowing when the kernels are ready. Use the husk for juicy corn, grill directly for smoky char, or reach for foil when you want buttery, tender results.
Once you have the timing down, experiment with different toppings to find your favorite combination. For more practical cooking ideas, kitchen tips, and everyday guides, check out the AirTalk Wireless blog for more helpful reads.