


A freshly ironed shirt can make an outfit look cleaner and more professional, but ironing incorrectly can create new problems. Too much heat, excessive pressure, or using the wrong technique may leave unwanted creases, flattened fabric, or shiny patches that are difficult to remove.
Understanding how to iron a shirt is not only about removing wrinkles. It also involves preparing the fabric correctly, choosing the right temperature, and following an order that helps maintain the shirt’s shape.
Whether you are preparing a work outfit, caring for a dress shirt, or learning how to maintain everyday button-up shirts, the right ironing method can help your clothes look polished while extending their lifespan.
1. What to Check Before Ironing a Shirt?
Before learning how to iron a shirt, take a few minutes to check the fabric care label. Different materials require different heat settings, and using excessive heat can damage delicate fabrics
Cotton shirts can usually handle higher temperatures, while synthetic materials such as polyester often require lower heat. Linen may need more steam because it wrinkles easily, but it can generally tolerate stronger heat when handled correctly.
The condition of the shirt also matters. Make sure the shirt is clean before ironing because heat can set stains into fabric, making them harder to remove later. If the shirt is slightly damp, ironing may be easier because moisture helps relax wrinkles. A spray bottle with clean water can help if the fabric has become completely dry.
The ironing surface should also be stable. A proper ironing board provides enough padding and space to move the shirt without creating new folds. Before starting, check that the iron plate is clean because residue or buildup can transfer onto clothing.
Taking these preparation steps makes how to iron a shirt much easier because the process becomes about smoothing fabric rather than trying to correct avoidable mistakes.


2. How to Iron a Shirt Step by Step?
The best way to approach how to iron a dress shirt is to work from smaller sections to larger areas. This method reduces the chance of creating new wrinkles while keeping the shirt’s structure intact.
Start With the Collar and Cuffs
Begin with the collar because it is one of the most visible parts of the shirt. Lay the collar flat and iron from the outside edges toward the center. Avoid pressing too aggressively because excessive pressure can create unwanted lines.
Next, move to the cuffs. Open the cuffs completely and iron both the inside and outside surfaces. Pay attention to areas around buttons because these sections often wrinkle more easily.
Starting with the collar and cuffs helps create a clean foundation before moving to the larger sections of the shirt.
Iron the Sleeves
Sleeves require careful handling because they can easily develop sharp folds in the wrong places.
Lay one sleeve flat on the ironing board and align the seams before pressing. Move the iron from the shoulder area toward the cuff using smooth strokes. If you prefer a sharper crease along the sleeve, follow the existing seam rather than creating a new fold.
When learning how to iron a button up shirt, sleeve placement is one of the most important steps because uneven sleeve creases can make an otherwise neat shirt look untidy.
Repeat the process on the other sleeve and check both sides before moving forward.
Press the Front and Back Panels
After the smaller sections are finished, move to the main body of the shirt.
Place one front panel on the ironing board and work around buttons carefully. Instead of pressing directly over buttons, iron around them to avoid damaging the fabric or the buttons themselves.
Move slowly across the shirt using consistent pressure. Avoid leaving the iron in one place for too long because concentrated heat can create shine marks, especially on darker fabrics.
Turn the shirt around and repeat the process on the back panel. Smooth the fabric with your hand before placing the iron down to prevent accidental wrinkles. This step is the main part of how to iron a shirt because the front and back sections usually contain the largest visible areas.
Hang the Shirt Immediately
Once the shirt is completely ironed, place it on a hanger immediately. Allowing it to sit folded or lying on a surface can create new wrinkles.
Buttoning the top button and a few additional buttons can help the shirt maintain its shape while it cools. Proper storage after ironing is just as important as the ironing process itself.
>>> Read more: How to Tie a Bow Tie? 5 Easy Steps for a Perfect Knot Every Time
3. Notices When Ironing Dress Shirts and Button-Up Shirts
Dress shirts and button-up shirts often require extra attention because their appearance depends heavily on structure and sharp lines.
When ironing these shirts, avoid pressing too hard around collars, cuffs, and seams. These areas are designed to maintain shape, and excessive pressure can flatten the fabric or remove the natural structure.
Dark-colored shirts also require special care because high heat and direct pressure can create shiny areas. Using a lower temperature, adding steam, or placing a thin cotton cloth between the iron and the shirt can help protect the surface.
For people learning how to iron a dress shirt, patience is more important than speed. Moving the iron steadily across the fabric produces better results than repeatedly pressing the same area.
It is also helpful to avoid ironing over wrinkles aggressively. If a crease does not disappear, adding a small amount of moisture and allowing the fabric fibers to relax usually works better than increasing heat.
4. How to Remove Shirt Wrinkles Without an Iron?
Sometimes an iron is unavailable, or you may need a quick solution while traveling. In these situations, there are several ways to reduce wrinkles without traditional ironing.
Use Steam From a Shower or Garment Steamer
Steam helps relax fabric fibers and can reduce light wrinkles. Hanging a shirt in the bathroom while taking a hot shower may help loosen some creases, although it is usually less effective than a dedicated garment steamer.
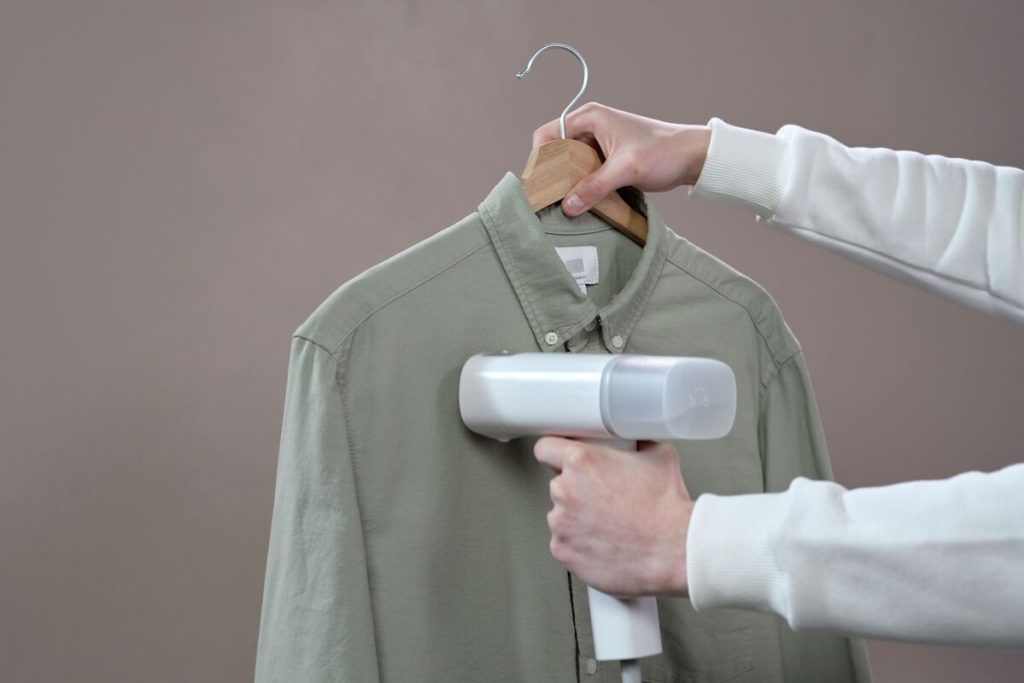
A garment steamer can be a convenient alternative because it removes wrinkles without pressing directly against the fabric. It is especially useful for delicate materials that may be sensitive to high heat.
Use a Dryer With a Damp Towel
A dryer can help remove wrinkles from some shirts. Place the wrinkled shirt in the dryer with a slightly damp towel and run a short cycle. The moisture creates steam inside the dryer, helping relax the fabric.
Remove the shirt promptly after the cycle finishes and hang it up to prevent new wrinkles from forming.
Try a Hair Dryer or Wrinkle-Release Spray
For small wrinkles, a hair dryer can provide a quick solution. Hold the shirt fabric slightly stretched and direct warm air over the wrinkled area.
Wrinkle-release sprays can also help relax fabric when an iron is not available. After applying the spray, gently pull and smooth the fabric before allowing the shirt to dry.
These methods are useful when you need to know how to iron a shirt without an iron or how to unwrinkle a shirt without an iron, but they usually work best for minor wrinkles rather than deeply pressed creases.
>>> Read more: How to Pack a Suitcase Efficiently? Save Space and Stay Organized for Any Trip
Final Thoughts
Learning how to iron a shirt properly comes down to preparation, temperature control, and technique. Checking the fabric label, starting with smaller sections, working carefully across the shirt panels, and hanging the shirt immediately afterward can help achieve a clean, professional appearance.
Avoiding excessive heat and pressure is just as important as removing wrinkles. With the right approach, you can prevent shine marks, protect your clothing, and keep dress shirts and button-up shirts looking sharp.
Whether you are preparing formal clothing or maintaining everyday outfits, consistent ironing habits make it easier to keep shirts in good condition for longer.