


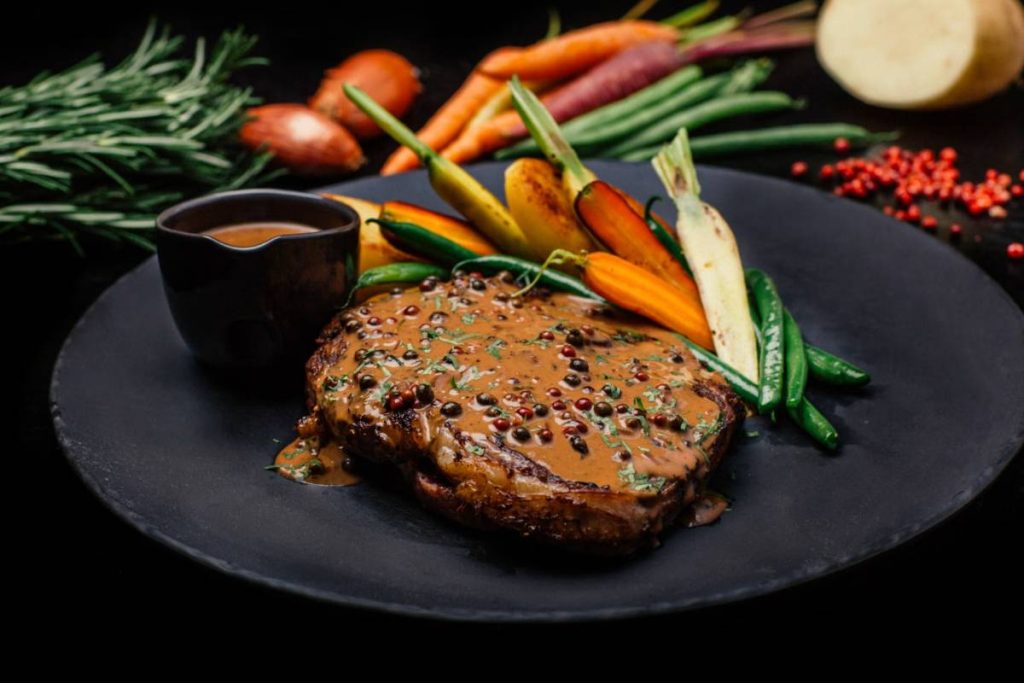
A smooth, rich gravy can bring everything on the plate together, but getting the consistency and flavor right can be surprisingly tricky. Whether you have flavorful pan drippings to work with or just a few basic ingredients in the kitchen, the technique matters.
This guide covers how to make gravy from scratch, along with different variations and simple fixes for common gravy problems.
1. What You’ll Need to Make Homemade Gravy
Learning how to make gravy starts with a simple combination of fat, flour, and liquid. From there, you can adjust the ingredients depending on whether you want a classic brown gravy, a lighter poultry gravy, or a richer version made with pan drippings.
Essential Ingredients
For a basic homemade gravy, you will need:
- Fat: Butter works well for gravy made without drippings. For roasted meat or poultry, you can use fat collected from the pan instead.
- All-purpose flour: Flour combines with the fat to form a roux, which thickens the gravy.
- Liquid: Use chicken, beef, turkey, or vegetable broth depending on the flavor you want. Pan juices can also replace part of the broth.
- Salt and black pepper: Add these near the end so you can adjust the seasoning after the gravy has reduced.
A useful starting ratio is about 2 tablespoons of fat + 2 tablespoons of flour + 1 cup of liquid. You can scale the quantities up while keeping roughly the same proportions.
Optional Ingredients for Extra Flavor
Basic gravy does not require many ingredients, but a few additions can give it more depth. Try Worcestershire sauce with beef gravy, fresh or dried herbs such as thyme and sage with poultry gravy, or a small amount of garlic or onion powder.
Cream or milk can create a richer, softer flavor, while cooked onions, mushrooms, or meat drippings can make the gravy more savory. Add extras gradually so they complement rather than overpower the main dish.
The basic gravy method is straightforward: create a roux, gradually incorporate liquid, then simmer until you reach the consistency you want. The key is controlling the heat and whisking thoroughly so the gravy stays smooth.
2. How to Make Gravy in 5 Simple Steps
The basic gravy method is straightforward: create a roux, gradually incorporate liquid, then simmer until you reach the consistency you want. The key is controlling the heat and whisking thoroughly so the gravy stays smooth.


Step 1. Melt the Fat or Butter
Place a saucepan over medium heat and add your butter or reserved cooking fat. Allow it to melt completely without letting it burn.
If you are using pan drippings, separate the fat from the cooking juices first. Use the fat to build the roux and save the flavorful juices to add with your broth later.
Step 2. Whisk in the Flour
Sprinkle the flour evenly over the melted fat and whisk continuously until the two ingredients form a smooth paste.
Cook the roux for about 1–2 minutes to remove the raw flour taste. For a darker gravy, you can cook it slightly longer until it develops a light golden or brown color, but watch it closely to prevent burning.
Step 3. Slowly Add the Liquid
The most important technique in how to make gravy without lumps is adding the liquid gradually. Pour in a small amount of warm broth or cooking liquid while whisking constantly.
Once that portion is completely incorporated and smooth, add a little more. Continue whisking and adding liquid until you have used the full amount. Pouring everything in at once makes it harder for the roux to incorporate evenly and can leave floury lumps behind.
Step 4. Simmer Until Thickened
Bring the mixture to a gentle simmer while continuing to stir. As the flour cooks, the gravy will gradually thicken.
This usually takes several minutes. Remember that gravy also thickens slightly as it cools, so remove it from the heat when it is just a little thinner than your ideal serving consistency.
Step 5. Season and Serve
Taste the finished gravy before adding salt, particularly when using salted broth or pan drippings. Add black pepper and any additional herbs or seasonings you prefer.
Serve the gravy warm over mashed potatoes, roasted meat, biscuits, vegetables, stuffing, or other dishes.
>>> Also read: How to Freeze Berries and Keep Them Fresh Longer
3. How to Make Different Types of Gravy
Once you understand the basic roux-and-liquid method, you can adapt it to many different meals.
How to make brown gravy, for example, largely comes down to choosing a darker, savory liquid and building enough depth of flavor, while turkey and sausage gravy require slightly different ingredients and techniques.
Gravy With Pan Drippings
Pan drippings contain both rendered fat and concentrated juices from cooked meat, making them an excellent base for gravy.
After roasting, pour the drippings into a container and allow the fat to separate. Use the fat in place of butter to make your roux, then combine the reserved juices with broth and gradually whisk them into the roux.
Scrape up any flavorful browned bits left in the roasting pan as well. They can add considerably more depth to the finished gravy.
Gravy Without Drippings
You do not need to roast meat first to make good gravy. Melt butter, whisk in flour, and use a flavorful broth as the liquid.
Because you will not have concentrated pan juices, season this version more deliberately. Herbs, Worcestershire sauce, onion powder, garlic powder, or a small amount of soy sauce can help deepen the flavor depending on the type of gravy you’re making.


Turkey Gravy
The classic answer to how to make turkey gravy is to use the flavorful liquid left behind after roasting the turkey.
To make gravy from turkey drippings, separate the rendered fat from the pan juices. Use the turkey fat to prepare the roux, then whisk the reserved juices together with turkey or chicken broth into it. Simmer until thickened and season only after tasting, since turkey drippings can already contain plenty of salt.
For extra flavor, herbs that complement the turkey, such as sage or thyme, can be added in small amounts.
Beef Gravy
Beef gravy benefits from a rich beef broth or drippings from roast beef, steak, or another cooked beef dish. Prepare a roux with butter or rendered beef fat, then gradually whisk in the liquid.
For a deeper brown color and more savory flavor, a small amount of Worcestershire sauce can work well. Let the gravy simmer long enough for the flavors to combine before adjusting the seasoning.
Chicken Gravy
Chicken gravy follows the same basic technique but uses chicken drippings, chicken broth, or a combination of both. Its flavor is usually lighter than beef gravy, making herbs such as thyme, sage, or rosemary good additions.
If you have roasted a chicken, use the rendered fat for the roux and combine the remaining pan juices with broth for a more flavorful result.
Sausage Gravy
How to make sausage gravy is slightly different because the cooked sausage provides both the meat and much of the fat needed for the sauce.
Brown breakfast sausage in a skillet and leave the rendered fat in the pan. Sprinkle flour over the sausage and stir until the flour coats the meat and absorbs the fat. Gradually pour in milk while stirring, then simmer until the gravy becomes creamy and thick.
Season generously with black pepper and add salt only after tasting. Unlike broth-based gravies, sausage gravy is typically creamy and is commonly served over warm biscuits.
4. How to Fix Common Gravy Problems
Even when you know how to make gravy, small changes in heat, ratios, or technique can leave it thinner, thicker, lumpier, or less flavorful than expected. Most of these problems are easy to correct before serving.
Gravy Is Too Thin
First, let the gravy simmer uncovered for a few more minutes. Some excess liquid may simply need time to evaporate and allow the gravy to thicken.
If it is still too thin, make a small slurry by mixing cornstarch with cold water until smooth. Whisk it gradually into the simmering gravy and give it time to thicken before adding more. Avoid adding dry flour directly to the gravy, as it can create lumps and leave a raw flour taste.
Gravy Is Too Thick
A gravy that has reduced too much can usually be rescued with additional liquid. Whisk in a small amount of warm broth, stock, milk, or water, depending on the type of gravy.
Add only a little at a time. It is much easier to thin gravy gradually than to correct it again after adding too much liquid.
Lumpy Gravy
Lumps often form when liquid is added too quickly to the roux or when the mixture is not whisked thoroughly.
For minor lumps, vigorous whisking may be enough to smooth the gravy. If larger lumps remain, pour the gravy through a fine-mesh strainer before serving. An immersion blender can also help with some gravies, although it may slightly change the texture.
To prevent lumps next time, add the liquid gradually while whisking continuously.
Bland Gravy
Before adding more salt, determine what the gravy is actually missing. Salt can improve an under-seasoned gravy, but it cannot create the deeper savory flavor that may be lacking.
Depending on the recipe, try adding black pepper, herbs, pan juices, Worcestershire sauce, or a small amount of concentrated stock. Let the gravy simmer briefly after each addition, then taste again before making further adjustments.
Conclusion
Learning how to make gravy comes down to mastering a simple combination of fat, flour, and liquid, then adjusting the flavor and consistency to suit your meal. Once you understand the basic technique, the same method can be adapted for everything from classic brown and chicken gravy to turkey gravy made with drippings.
Add the liquid gradually, keep whisking, and make your final seasoning adjustments after the gravy has thickened. With those fundamentals in place, homemade gravy becomes much easier to get right every time.
Want to learn more useful things for everyday life? Visit the AirTalk Blog to explore more practical information, ideas, and how-to guides.