
Lifeline Troubleshooting: How to Fix Issues, Contact Support & More
- Share This:
-


-

-

-

-

-

-

-


Lifeline troubleshooting is an essential part of maintaining seamless connectivity for Lifeline users. While the program helps millions of Americans stay connected, issues with devices, SIM cards, or service interruptions can still arise.
This comprehensive guide walks you through practical solutions for common problems, how to contact customer support, and how to apply for a free phone. With the right steps, you can keep your Lifeline service running smoothly and avoid unnecessary disruptions.
1. Most Common Lifeline Troubleshooting & How to Solve
Experiencing Lifeline troubleshooting related to your device or service is something you may encounter during your use. Here are the top three issues Lifeline users often encounter, along with clear steps to fix each one.

Understanding and anticipating these issues not only helps you avoid potential risks but also equips you with quick and effective solutions if unexpected problems occur.
1.1. Lost Lifeline phone
Losing your Lifeline phone can disrupt communication and potentially expose your personal information. Here is a step-by-step guide to help you handle this situation promptly:
Step 1: Report the loss to your Lifeline provider
Contact your Lifeline provider (such as AirTalk Wireless, etc.) right away through the Lifeline customer service phone number or Lifeline customer service live chat, which you can find on the provider’s official website.
Reporting the loss immediately will help you:
- Secure your SIM and phone number promptly to block unauthorized use
- Secure your right to request a replacement device if eligible
Step 2: Request a replacement phone
After reporting the loss, request a replacement device if you meet the provider’s eligibility policy. Certain providers may offer a complimentary first replacement, while any additional requests could incur charges. You may be required to pay shipping or device fees.
Always check the specific replacement policy on the provider’s official website.
Step 3: Verify your identity
You will need to provide:
- Your registered personal information
- Your Lifeline Enrollment ID or the registered phone number
- Identification documents if requested
Step 4: Track your replacement request
After your request is approved, you’ll be updated with details such as:
- The expected delivery time
- A tracking number for shipment updates
Step 5: Activate your replacement phone
When you receive your replacement device, follow the activation instructions provided with the phone or visit the activation page on your provider’s website.
If you encounter any issues, contact customer support immediately.

1.2. Poor signal & service interruptions
If you experience poor signal, dropped connections, or complete service outages, try troubleshooting with these steps:
Step 1: Check service outages in your area
First, check if your provider has reported service outages in your area:
- Visit your provider’s official website
- Check their coverage map
Step 2: Restart your phone
Restarting your device can refresh the network connection. This simple step is often effective for resolving temporary signal issues.
Step 3: Reset network settings
If the problem persists:
- On iPhone: Go to Settings > General > Reset > Reset Network Settings
- On Android: Go to Settings > System > Reset Options > Reset Wi-Fi, Mobile & Bluetooth
This action will erase all saved network settings.
Step 4: Reinsert your SIM card
- Power off your device, then gently remove and properly reposition the SIM card before turning it back on.
- Ensure your SIM card remains free from damage and debris before reinserting it.
Step 5: Contact customer support
If none of the above step’s work, contact your provider’s customer support by phone or live chat to check your service status or request a SIM replacement.
1.3. SIM card, activation & device compatibility problems
Many Lifelines troubleshooting from SIM malfunctions, activation errors, or device incompatibility, here’s how to address them effectively.
Issue 1: SIM card not recognized or not working
- Ensure the SIM card is correctly inserted
- Wipe the SIM card carefully with a soft, lint-free cloth to remove any dust or residue
- Test the SIM on another compatible device (if available)
- If the SIM is defective, contact your provider for a replacement
Issue 2: Activation problems
- Make sure you follow the activation steps as instructed on your provider’s website
- Certain providers may require you to activate your SIM either through their website or by dialing their activation support line
- Should your SIM remain inactive beyond 24 hours, reach out to customer service for immediate assistance
Issue 3: Device compatibility
Not all devices are compatible with Lifeline networks.
- Ensure your device supports the required bands and network technology (GSM/CDMA) based on your provider’s requirements
- Locked phones (carrier-locked devices) may not work with Lifeline SIM cards
Always check your device’s IMEI on the provider’s website before using it with a Lifeline SIM card. This helps minimize compatibility issues when installing the SIM card.
If you find it difficult to resolve these issues on your own, visit a service center if your provider has a local store near you to get professional assistance.

2. How to Contact Lifeline Customer Service?
If you experience issues with your Lifeline phone service, here is a detailed guide on how you can contact Lifeline effectively and resolve your concerns without delay.
2.1. Contact via customer service phone number
The most direct way to contact Lifeline customer service is by phone. Each Lifeline provider offers a dedicated hotline to assist users with troubleshooting, service interruptions, application status, and device support. You can usually find the customer service phone number on the provider’s official website.
Before calling, check the provider’s official website for the latest Lifeline Customer Service Hours. Some providers offer extended support during peak periods but may have limited availability on weekends or holidays.
2.2. Use live chat support
Many Lifeline providers now offer Lifeline customer service live chat on their websites. This is a great option if you prefer not to call or need quick answers to simple questions.
Benefits of live chat support:
- Instant responses without waiting on hold
- Ability to send documents or screenshots if needed
- You can save the chat transcript for your records
Always confirm the Lifeline customer service hours for live chat, as chat availability may differ from phone support hours.
2.3. Email support
Some providers also allow you to submit inquiries via email or an online contact form.
This method is useful if:
- Your issue is not urgent
- You need to provide detailed information or attachments
2.4. Visit local retail stores or service centers
If your Lifeline phone service provider has a local store or service center, visiting in person can be helpful, especially for issues like SIM replacement, device swaps, or document verification.
Before visiting:
- Confirm the store location on the provider’s website
- Double-check the store hours for in-store support
The Lifeline Support Center Hours for national program inquiries are 9:00 AM to 9:00 PM Eastern Time, seven days a week.
However, local store hours may vary depending on the provider’s policy and location. By knowing the local store’s business hours, you’ll avoid unnecessary waiting and ensure you receive the right support at the right time.
2.5. Social media channels
Some Lifeline providers offer customer support through their official social media pages (such as Facebook or Twitter).
This can be useful for:
- Quick updates on service outages
- Asking general questions
- Getting links to official support resources
2.6. Check the provider’s support page & FAQs
Before contacting Lifeline customer service, explore the FAQ or Support section on your provider’s website.
You may find:
- Self-help troubleshooting guides
- Important service announcements
- Basic information about your Lifeline phone service and common issues
To get your issue resolved quickly, you should:
- Have your account details and Lifeline Enrollment ID ready when you call or chat.
- Always check the exact operating hours of each support channel to avoid delays or missed contact opportunities.
- Provide brief and detailed information about your issue to help the support agent assist you efficiently.

>>> Read more: Lifeline Phone Broken? Here’s What to Do Next
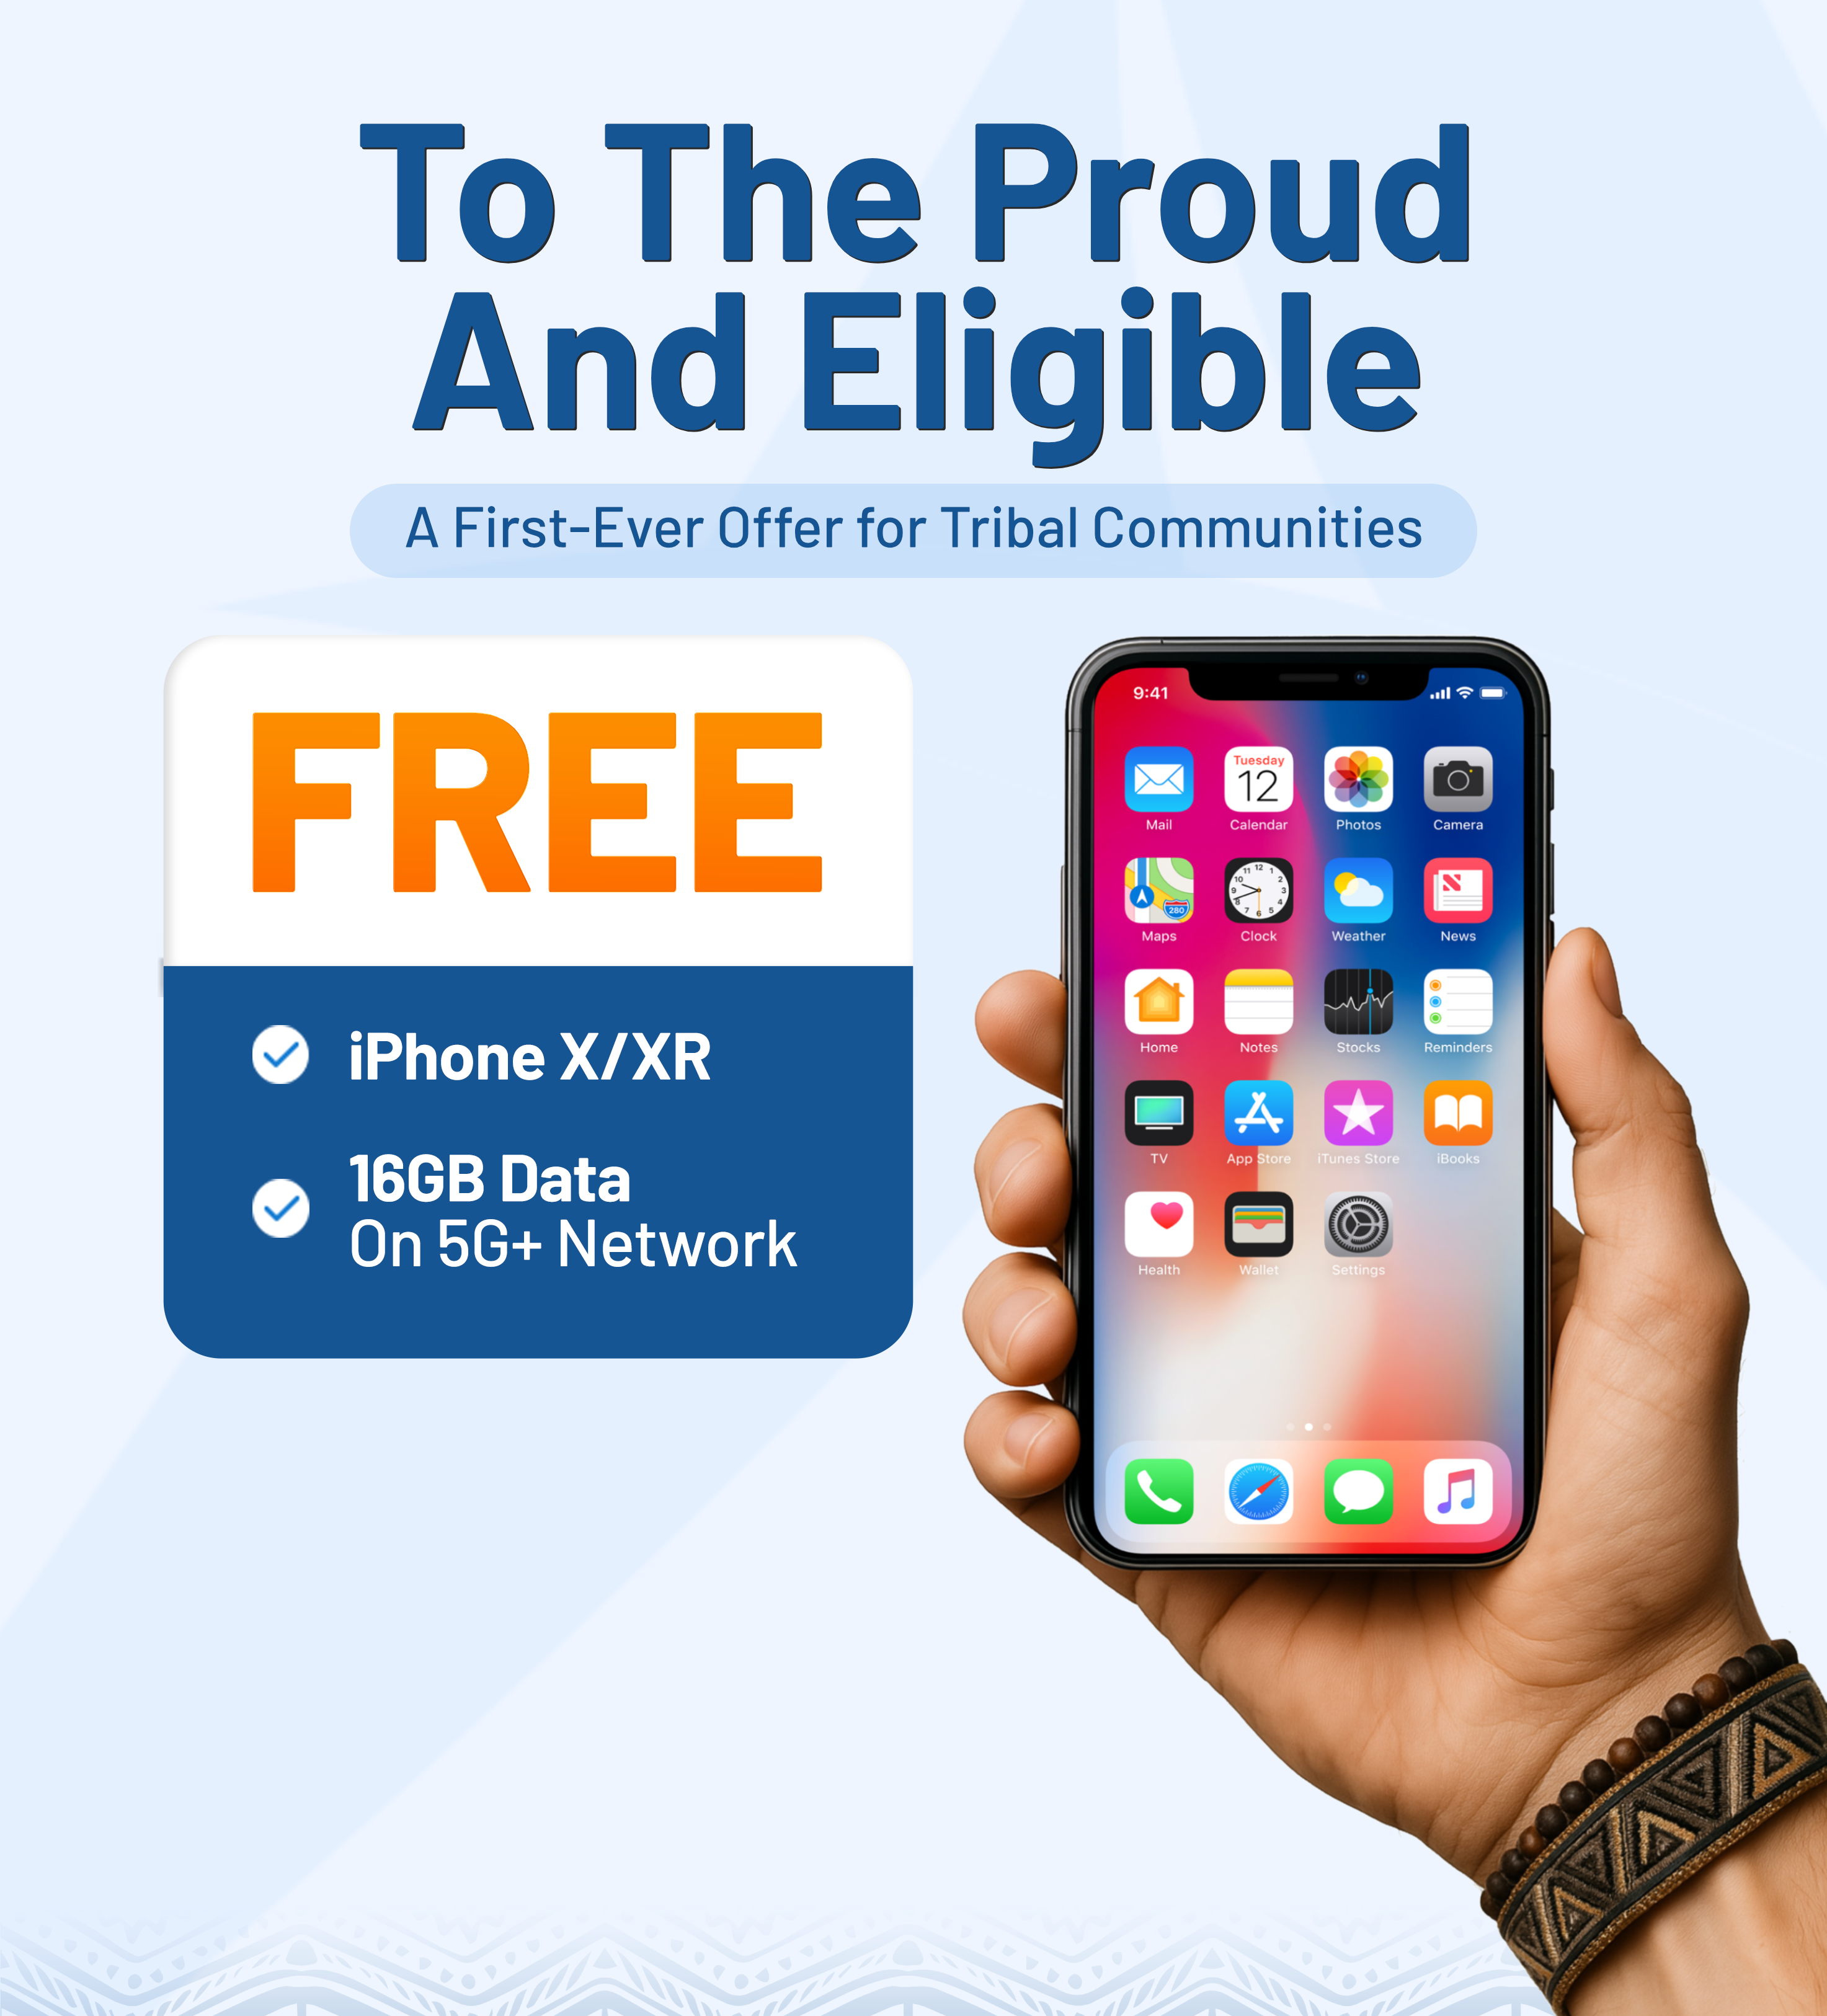
3. How To Apply for a Free Phone with Lifeline?
The Lifeline assistance program is a federal benefit offering discounts on monthly phone or internet services. Below is a comprehensive guide on how to apply for a free phone and service from reputable providers participating in the Lifeline program.
3.1. Check your eligibility for Lifeline
Before applying, you need to make sure you meet the criteria. You may qualify in one of the following ways:
Income-based eligibility
Your household income is at or below 135% of the Federal Poverty Guidelines.
Program-based eligibility
You or someone in your household participates in government assistance programs.
3.2. Prepare the required documentation
When applying, you will need to submit documents to verify your eligibility. These may include:
- Proof of program participation, or proof of income
- Proof of identity
- Proof of address
3.3. Choose a Lifeline phone service provider

Once approved, you’ll need to choose a participating Lifeline phone service provider in your area.
- When selecting a provider, make sure to:
- Carefully review their offers
- Check coverage maps
- Confirm whether they provide a free phone upon Lifeline enrollment
Among the Lifeline providers, AirTalk Wireless stands out as a trusted provider with over 25 years of experience partnering with Lifeline.
They offer high-quality mobile devices and affordable, sometimes even free, unlimited service plans for eligible Lifeline participants.
3.4. Apply directly with the Lifeline provider
After selecting your provider:
- Visit the provider’s official website
- Enter your ZIP Code to check service availability in your area
- Complete the application form
- Choose your free phone and service plan
- Submit your request and wait for confirmation
- Some providers may require you to activate your device after you receive it.
(*) Lifeline program rules you should know
- You can only receive one Lifeline benefit (either phone or internet) per household.
- You must recertify your eligibility annually to maintain your Lifeline service.
- The benefit is non-transferable and cannot be shared or given to another person.
Failure to comply with these rules may result in the loss of your Lifeline phone service.
Final Words
Knowing how to handle Lifeline troubleshooting will ensure you maintain a stable connection without interruptions while saving time and effort when resolving issues. Don’t wait for problems to arise, bookmark this guide now and be ready to tackle any Lifeline situation whenever needed.
>> Check out more: The Complete Guide to AirTalk Wireless Application Online (Status, Login, and Free Phones)
- Share This:
-
-
-
-
-
-
-
-
New on AirTalk Wireless


